I love it when a plan comes together.

Michael
Dad & NerdOrder of built
Order of built
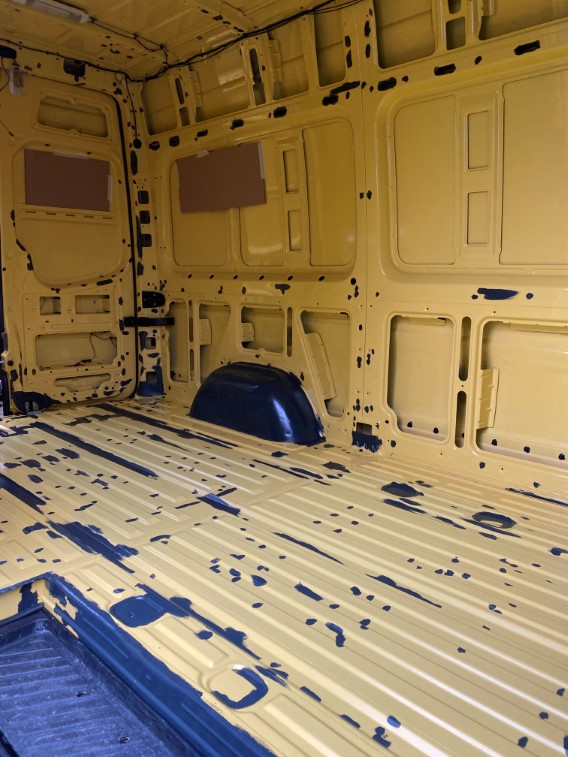
At a first glimpse the built order looks a bit chaotic, it was all to squeeze out the maximum space and least weight. I could do it, since I had a very detailled plan, what I want to do and made my plan in which order it needs to be done. I wanted to have solid statics and well place break points a) for any accident I hopefully will never encounter and b) the space wood needs to be able to work in different conditions.
So I did it in this order:
- Disassamble everything you'll not need anymore
- Cleaning, rust treatment, cleaning
- Cut all holes for windows, fan, cable glands, etc. and install it
- Roof rack
- Thorough cleaning (really thorough!)
- 1st layer of 25mm-isolation (top, sides skipping the last 10cm at the bottom to let the condensation water out), cockpit
- Pre-wiring front/back, top/bottom, driver seat, engine bay for 3.3V & 5V sensors and actors, 12V, 230V, shore-power, CAN-bus, cameras, etc.
- Final layer 6mm-isolation (top, sides)
- Black hole above the cockpit
- Top cabinets incl. roof cladding (fixed in hidden slots at upper cabinet and few screws)
- Installation water and grey water tanks (just on thin isolation layer, fixed with L-brackets and straps)
- Separation wall between living room + garage with pull-outs, leading board left/right + steel square pipes for bed construction
- Bed box, slatted frame (2 side expandable)
- Battery, inverter, 230V cables + breaker installation (just on thin isolation layer, fixed with L-brackets and straps)
- Thin floor board for Autoterm, installation Autoterm, boiler, air silencer, air valves, water pipes installation
- Separation wall at kitchen area incl. wiring top/down and at battery area (fuses, power distribution panels, control unit), wiring seating area
- Kitchen cabinet
- Podium above tanks, floor frame and covering (I did that very late in the process to have it just where it's needed), shoe cabinet at slide door, toilet cabinet
- Car felt (Filz) in seating area + seating construction
- Wall panels (fixed in hidden slots at upper cabinet and leading boards left/right + few well placed screws e.g. glasses holder)
- Back doors panels, sliding door panel, B-pillar cladding, back pillar cladding
- Dirt-/Offroad conversion a) tires, rims, lift, 15mm track spacer, shock absorbers (from Marquart); b) differential lock
- Garage raised floor construction and car felt on the sides
Every board is sanded and painted from alle sides at least two times with according intermediate sanding.